Ready yourselves with some important hack: here are the preventative and protective measures you should follow before bringing your damaged Apple device to an authorized service provider. Yes, you read it right, even when your device is damaged.
Other than obviously trying to avoid any further concern, these measures will also help you save repair time and protect your data and privacy. Listed below are the steps to take to prepare your Apple device for repair.
How to Prepare Your Apple Devices for Service
1. Backup Your Data.
Backing up your data means making copies of all your media, documents, and other files on a different system and ensuring you can restore and access them later when your device is already fixed, replaced, or damaged beyond repair. It also prevents data loss, especially for photos, videos, and contacts you treasure the most or sensitive and crucial data like your finances.
Backing Up Your iPhone and iPad Data
If you haven't backed up your data yet, you have two ways to do so:
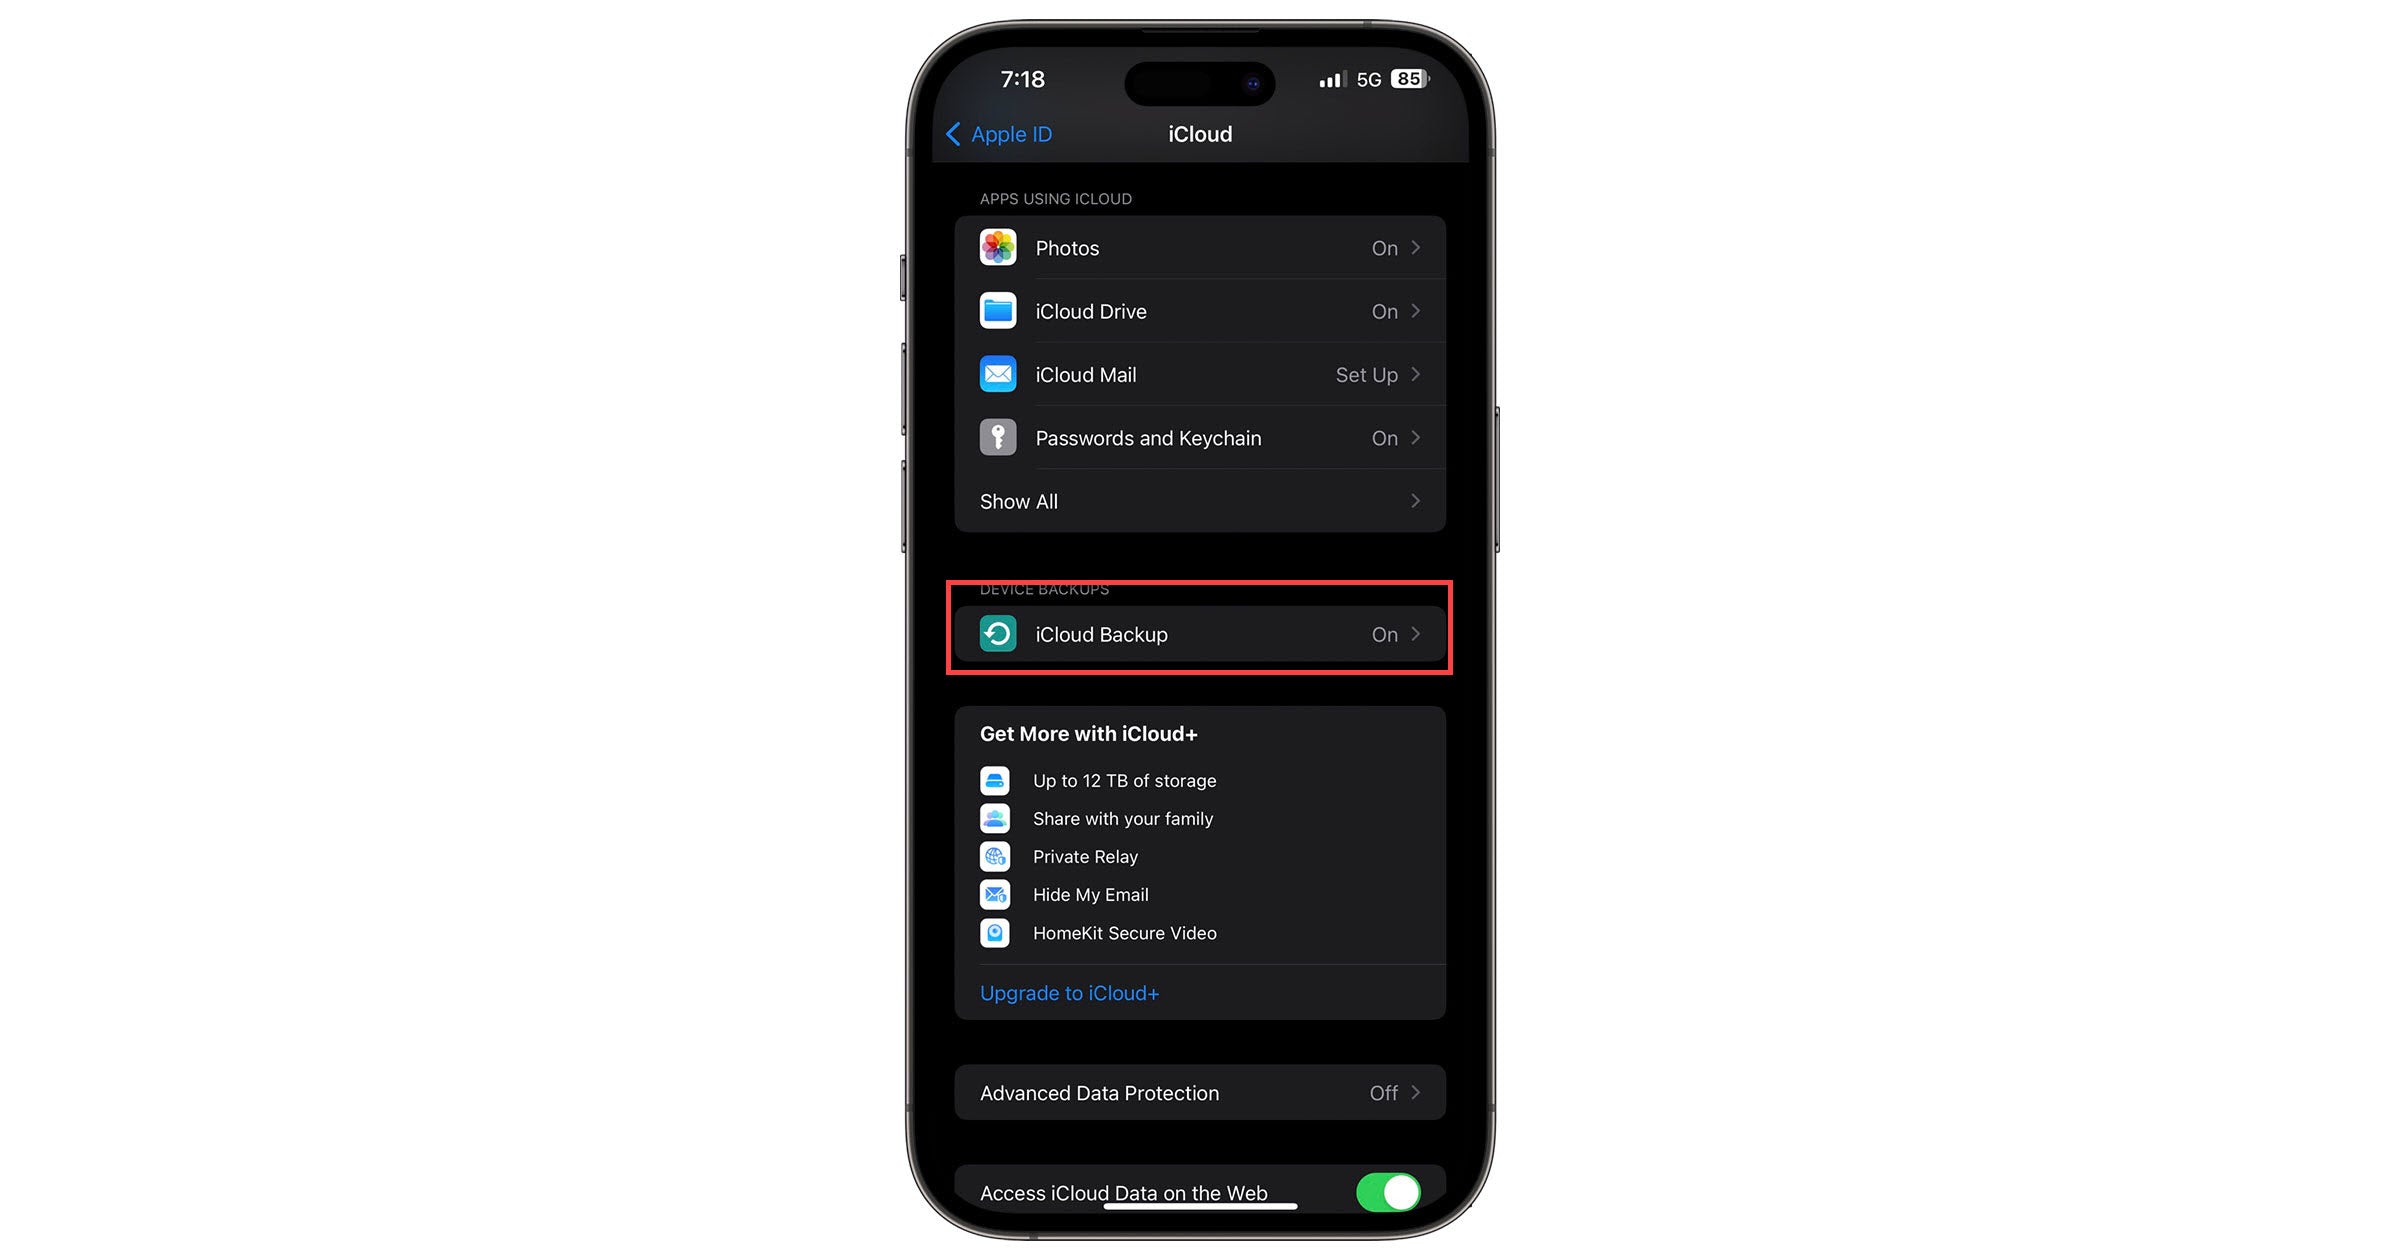
• iCloud backup
iCloud backup stores and encrypts your data in iCloud using a Wi-Fi connection and provides up to 2TB of storage.
To back up your data with iCloud, follow the steps below:
- Connect to a Wi-Fi network.
- Go to Settings.
- Locate your name and tap on iCloud.
- Tap on Back Up Now.
• Computer
You can also back up your data using your Mac or PC. It also offers encrypted backup once turned on and, in terms of storage, stores data depending on available space on your computer.
To back up data on Mac, follow the steps below:
- Open Finder.
- Using a USB cable, connect your iPhone or iPad to your MacBook or iMac.
- Follow the on-screen instructions if a passcode is needed or the Trust This Computer prompt appears.
- Select your device.
- Tick the box for Encrypt local backup to save Health and Activity data from iPhone and Apple Watch. Then, create your password.
- Select Back Up Now and wait for the process to finish. The date and time show you when the data backed up last.

To back up data on your PC using iTunes, follow the steps below:
- Open iTunes on your Windows PC.
- Using a USB cable, connect your iPhone or iPad to your PC.
- Follow the on-screen insructions if a passcode is needed or the Trust This Computer prompt appears.
- Select your device in iTunes.
- Click Summary.
- Tick the box for Encrypt local backup to save Health and Activity data from iPhone and Apple Watch. Then, create your password.
- Select Back Up Now and wait for the process to finish. The date and time show you when the data backed up last.
2. Reset your data.
It's wise to reset your Apple device after backup if it contains sensitive and confidential information. You're never sure how others will handle your sensitive data once accessed, and it may have dire consequences for you and the people around you once it gets out. Some people may not have the best of intentions, so at the end of the day, securing your data is always your responsibility.

Aside from this, resetting your data will also save time for repair. Service providers may ask you to do a reset, or they may go ahead and delete it themselves, depending on the repair needed by your device. Authorized service providers do this, like Mobile Care by Power Mac Center, but only after allowing you to back up your data or back it up themselves.
The advantages with bringing your Apple devices to an Authorized service provider like Mobile Care is that their Engineers are all Apple Certified. They have exclusive access to Apple genuine parts and they prioritize securing and protecting your data, taking your consent with utmost respect when handling your data.
How to reset your iPhone Data:
- Backup your device data and go to Settings.
- Tap on General.
- Tap on Transfer or Reset.
- Select Erase All Content and Settings.
- Enter your passcode or Apple ID password when prompted.
- Confirm that you want to erase the data from your device.
- Wait for a few minutes for your data to be erased.

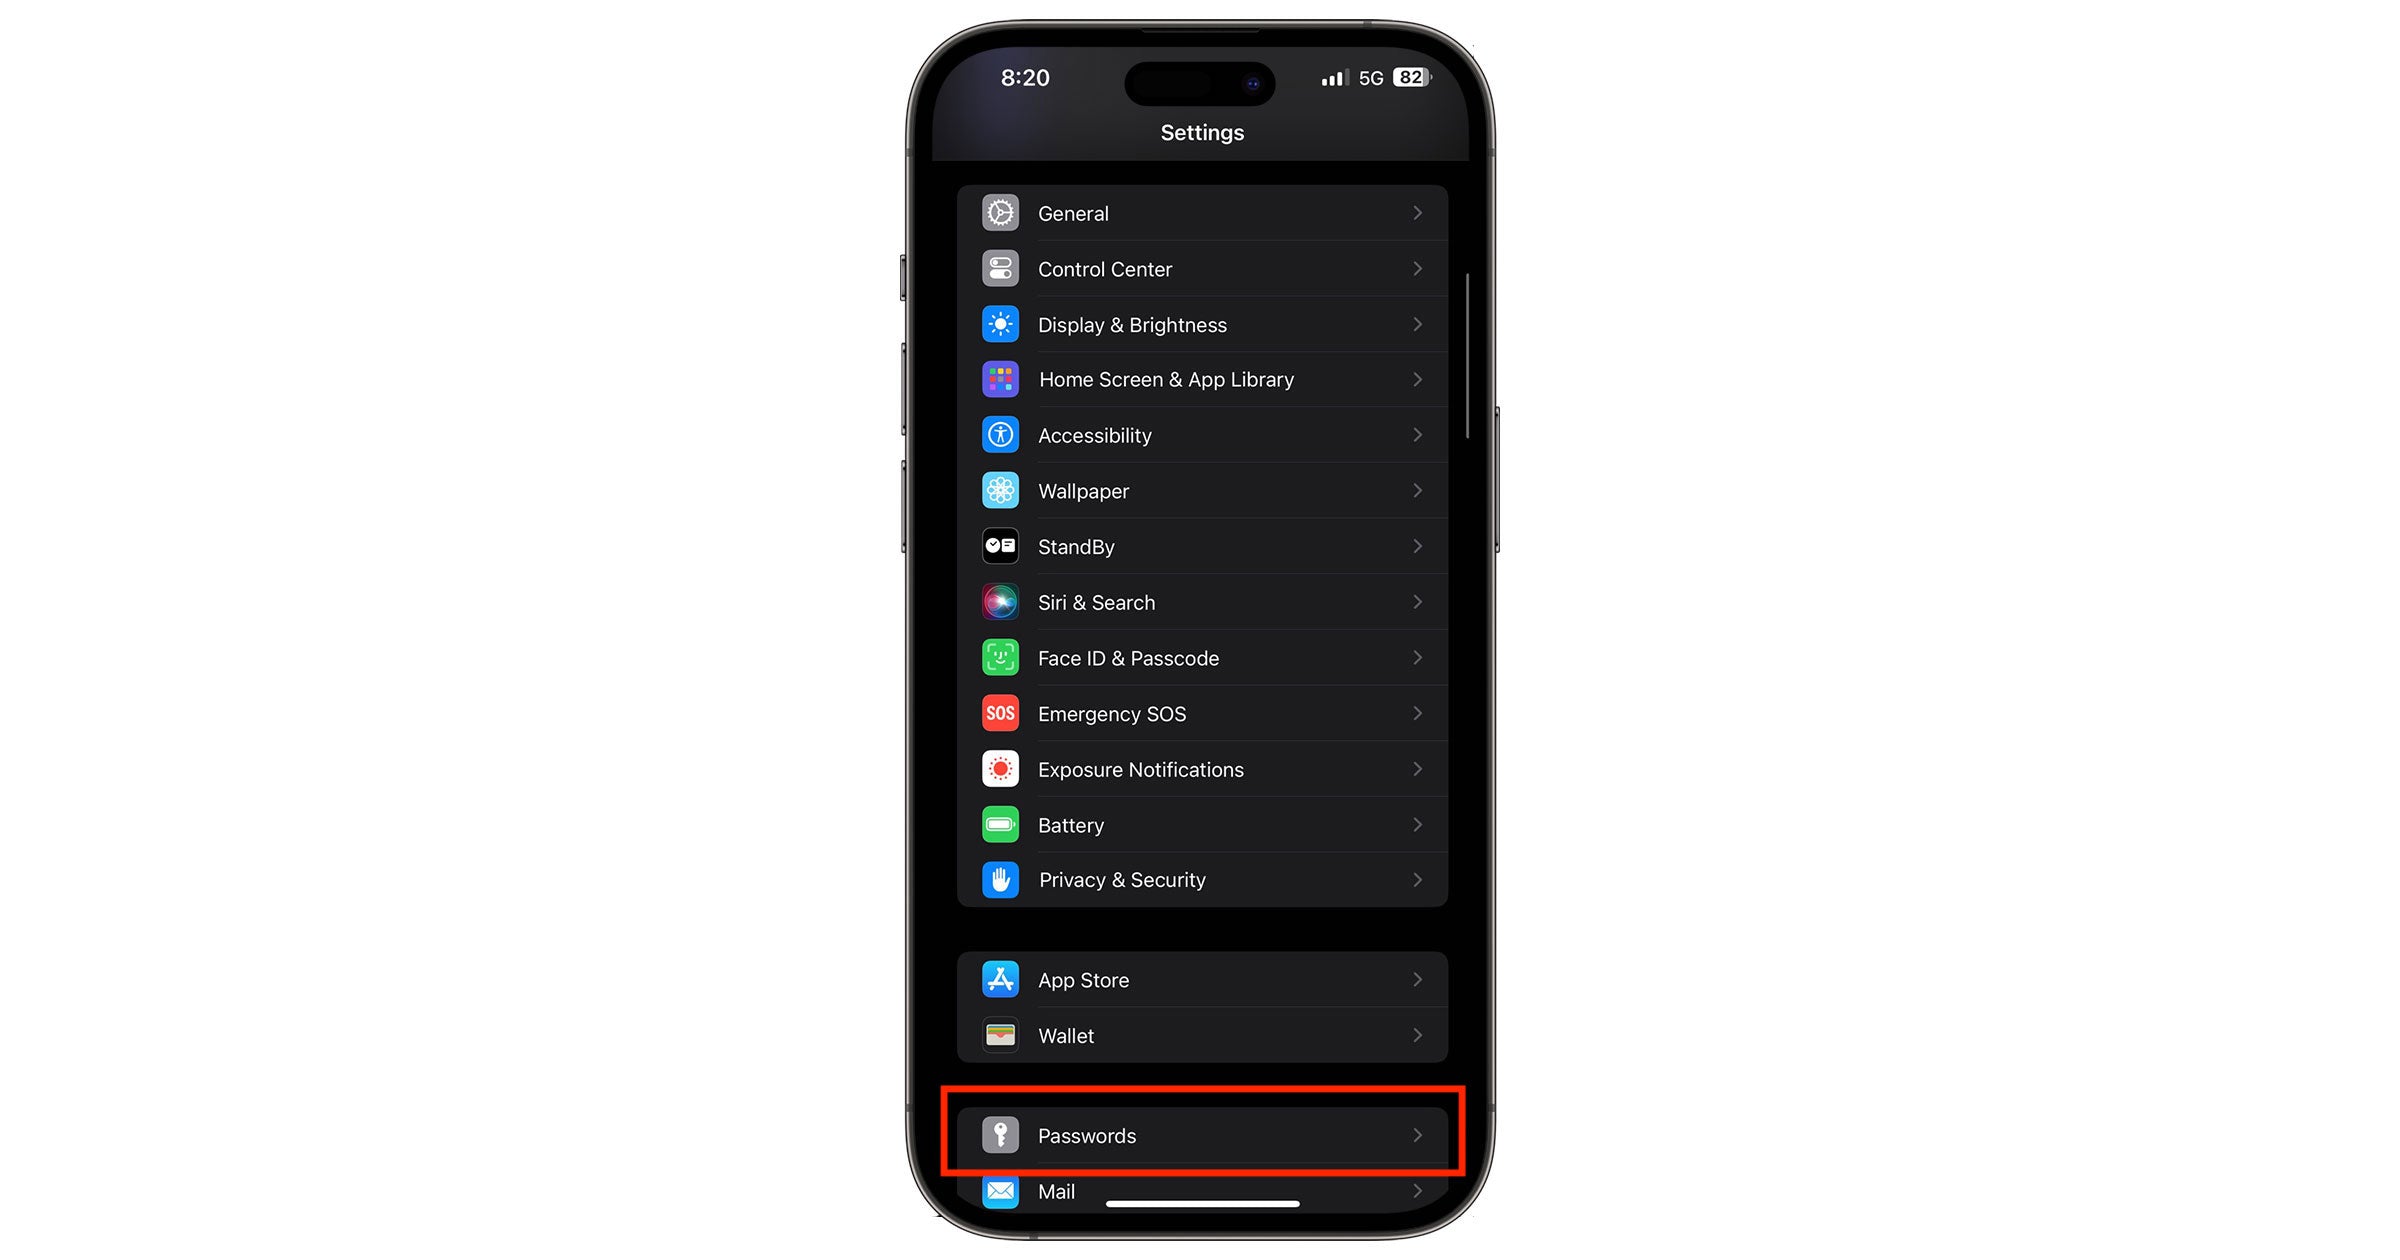
3. Remove Security Locks and Passes.
Removing the lock, PIN, fingerprint authentication, and other security patterns and turning off Face ID helps certified engineers and technicians save time as they work on your device. It also allows them to test your device's performance easily.
On the other hand, unlinking your accounts and cards and turning off Apple Cash protects your data from being accessed without your permission.
How to disable Touch ID on your iPhone and iPad:
- Go to Settings.
- Tap on Touch ID and Passcode.
- Turn off Touch ID for Passcode, iTunes & App Store, or Apple Pay.
How to disable Face ID on your iPhone and iPad:
- Go to Settings.
- Tap on Face ID and Passcode.
- Turn off Face ID: Tap Reset Face ID.
4. Remove your SIM card and other Device Accessories.
Don't lose your important contacts or go through the hassle of buying and registering your sim again. Remove it before handing in your device for repair. The same should apply to iPhone and iPad accessories like cases, keychains, detachable phone holders, and the like if you want to save them for another use.
5. Write Down Your IMEI Number.
IMEI stands for International Mobile Equipment Identity. It's a 15-17 digit number unique to each device and used by service providers to identify valid devices. Manufacturers use this to track smartphones that are stolen or compromised.
Before bringing in your device for iPad or iPhone repair, make sure to note your IMEI number. Why? In case a mixup happens, or you suspect that you were given a different device after repair, you may be able to track and retrieve the Apple device that is actually yours.
How to find your device IMEI:
- Go to Settings.
- Tap General and tap on About.
- Find the Serial number or scroll down to see the IMEI/MEID and ICCID.
Things to Bring When You Go for Repair:
- Apple ID and Apple ID password
- Official receipt/Purchase receipt/Sales Receipt
- A signed authorization letter with a scanned copy of the owner's ID if you're representing on behalf of the device owner.
- Damaged, broken, or faulty Apple device
- AppleCare and Protect Plus Warranty eligibility documents. Present this to Mobile Care to save on repair expenses.
Also note that if your device's battery needs service, you must bring it to an Apple Authorized Service Provider with 30% or less battery life. Doing this will save the engineers time on repair.

Get Premium Care from Mobile Care!
In terms of longevity, protection, and all-around knowledge of your Apple Device, the Apple Authorized Service Provider can give you the premium service you require. What's more, Apple Certified engineers are professionals trained directly by Apple to fix device problems and handle your data responsibly. You may not get this kind of assurance from just any third-party Apple repair shop.
Mobile Care is an Apple Authorized Service Provider and the service arm of Power Mac Center. It bears the elite distinction of Premium Apple Service Provider and commits itself to delivering nothing less than premium care for all your Apple devices. You may read more about its various services and frequently asked questions here.